

Rooftop tent (Part 2)

Types and size, useful features, storage and mounting.

We have been travelling with our rooftop tent for almost ten years. When we chose it, we wanted a model that would not take up the whole roof, yet would be big enough and versatile.

A so-called soft-shell tent, protected by a soft cover while driving, was and still is the best choice for us. It takes up about three quarters of the roof rack's length and its full width. When packed, it does not stick out beyond the rack or the car.
The alternative at the time was a hard-shell tent with a plastic housing, often called a clamshell. Its advantage was faster set-up.

Over the years, as users expected more, what went inside the shell changed, and so did the design. In many models the simple clamshell has become little more than a housing for a tent built the same way as ours, or an even more elaborate one.

A simple clamshell is a tent that fits entirely between the lower and upper halves of its shell. The downside is that the floor area, and therefore the number of people it sleeps, matches the length and width of the shell lying on the roof, and that has its limits. A four-person tent of this type on a typical estate car can look like a load sticking out on every side, and while it is there you cannot use the rack for anything else.

In our view, this simple design has its limits on trips to places with frequent rain and strong wind. You enter from the side, so even with a small canopy over the entrance, driving rain can get inside. Later designs changed in this respect too, and today you will find a wide range of solutions.

With a soft-shell tent you can choose a model for more people and still keep space on the roof next to it. As with a clamshell, the floor is the main measure of the space inside. Ours has a "hinge" halfway along the floor, so on the roof it takes up an area equal to half the floor. The other half can fold out to the side, the rear or the front of the car, as you prefer; the limit is where the entrance and the ladder mount are. The whole tent folds in between the two halves of the floor. Packed and ready to drive, most models stand about 25 to 30 cm above the rack.

Protection from driving rain and wind
If you like Scandinavia, and it is well worth it 😊, look for a design where you enter the tent from below. In front of the usual entrance there is an extra section that keeps rain from blowing inside, even in gusty wind.

You can also zip an annex to this section: an enclosed space with a waterproof floor. That gives you extra sleeping space or... a comfortable place for a table and chairs when it is pouring.

Choosing the size
Our rule has not changed for years: sleep well before another day full of adventures.
Before we started travelling with our dog, Mrok, we decided on a three-person tent. In practice this means a sleeping area 140 cm wide and more than 240 cm long. Mrok has claimed the extra length, over half a metre, for himself 😊.

To check whether a two-person tent will be comfortable for two, find the exact floor dimensions of the sleeping area of the tent you plan to buy, mark them out on your bed at home, lie down comfortably and see whether anything sticks out beyond the marked area.
You can also do it the other way round: stretch out on your bed, find the minimum space you need to rest comfortably, measure it, and you know what to look for 😊.

Extra features and accessories
Manufacturers compete in suggesting equipment we supposedly cannot rest without. These are the ones we consider worth having, our "must haves":
Weatherproof boot bags hanging below the entrance
You sit inside the tent with your legs outside. You can take your boots off or put them on however dirty they are, and nothing gets carried into the bedroom.

Interior lighting powered from a power bank
We have used head torches for more than 20 years, but soft light in the bedroom before sleep creates a warm atmosphere you will not forget.


A removable flysheet combined with roof windows or a mosquito net
Corsica, Portugal, Greece and Albania have warm nights under starry skies. Taking the flysheet off the roof and leaving only mesh in all the windows lowers the temperature and lets you feel the light breeze, and if the roof has extra windows, you fall asleep under the stars 😊.


Storage
Whatever the design, every tent needs cleaning and drying before it goes into storage. Ideally it should be kept somewhere with stable temperature and humidity. Ours spends the off-season in a heated room that stays dry all year: we hang it on a purpose-made steel rack in a warm, dry basement.

The profiles bolted to the tent floor are used for mounting it on the car roof, and for storage we use one of them. We secure the tent with two bolts, and it hangs safely until the next trip.


Mounting it on the roof
The internet is full of videos showing how easy it is to lift a tent onto the roof and fix it to the rack bars. That is true, especially for a two-person tent on a Swedish estate car or a crossover.


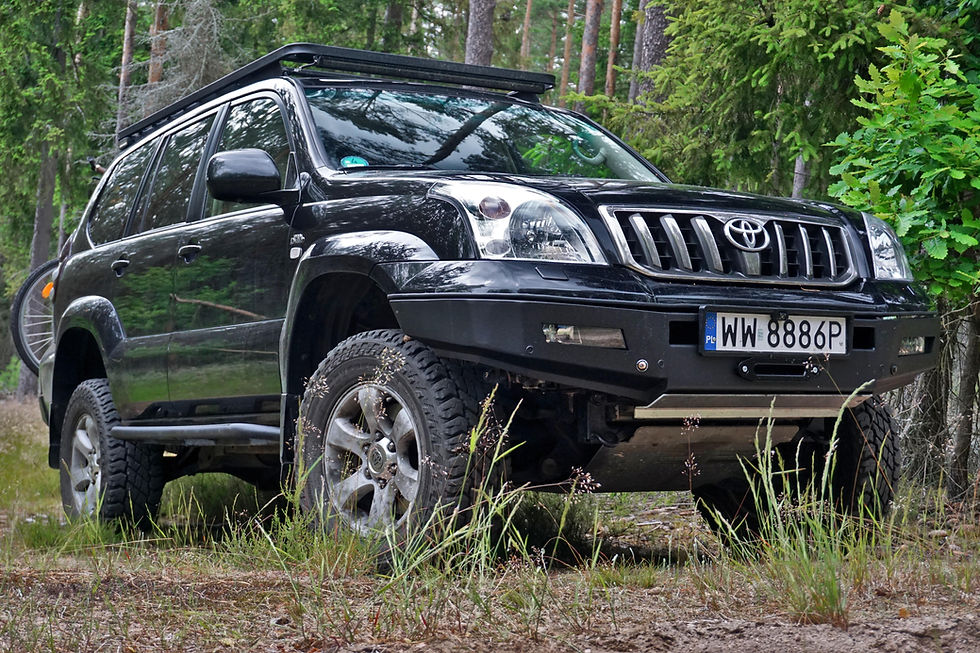
Our tent weighs just under 60 kg, and we have to lift it onto the rack on the roof of a Land Cruiser, a little over 2 metres up. At first this was difficult, mostly because we lacked experience. With every trip, mounting and removing it got faster, and now it takes a few minutes.
Summary
Before choosing a rooftop tent, estimate the size you need, and then... rent one. It costs far less, and if something does not suit you, you will have your own experience, the most valuable thing when you finally choose your own home on the roof.

Consider the tent's size when packed for travel. Most cars will cope even with a large four-person tent, but fuel consumption can rise significantly. Check your car's manual for the permitted roof load while driving (the dynamic roof load) and check the load rating of your roof rack or platform. The weight of the tent plus the rack must not exceed the lower of the two. This matters for safety.

In our article on the real fuel consumption of our car, you will see how adding luggage to the roof rack actually reduced it...

Made it this far? Quite possibly you are wondering why we chose a rooftop tent rather than a camper van or a caravan. That is a good lead; it can help you choose the way you will live on your own travels. Our choice is described in the first part of this article.


Comments